USB Scan |
The scan must perform whenever we import new files from unknown USB devices. The devices includes Pen drive and External hard disk. WardWiz prompts you on each USB connection with your computer system.
1. On connection of USB device with USB slot of your computer, the USB Scan Window appears.
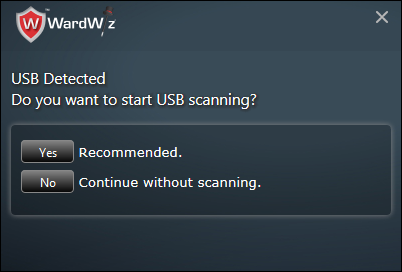
Figure 51 : USB Scan Window
2. Click Yes to scan the connected USB device as per recommended settings.
3. Click No to open USB memory device without performing the scan process.
|
Note : Ignoring this notification by clicking No could result in threat infection to your computer.
|
4. If you click Yes, the WardWiz scans the device with earlier set of setting.
5. You can set your choice of actions for USB scan from the provided settings.
-
Prompt User : The user will get informed
-
Do not Prompt: The user will not get informed
-
Automatically Scan: WardWiz performs Automatic Scanning without prompting
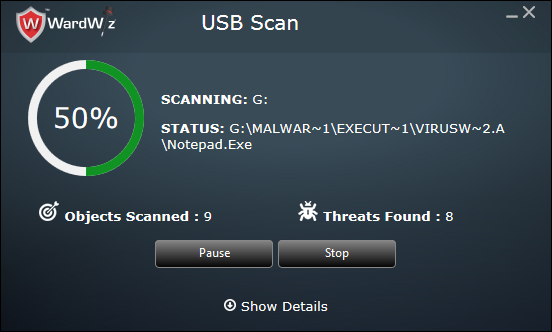
Figure 52 : USB Scan Process Window
6. Click Pause to stop the processes for some time, Click Stop to stop the process completely, Click Resume to continue.
7. WardWiz notifies you when the Scanning process ends.
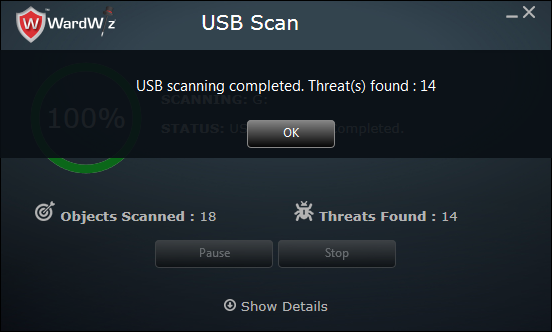
Figure 53 : USB Scan Complete
8. You can get the infected files Auto repair, Quarantine and skip using scan settings, the detected threats get treated according to these settings provided in
9. Click Show Details to check the virus details and the Action taken by WardWiz.
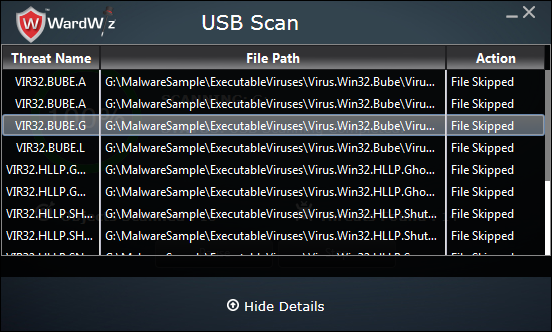
Figure 54 : USB Scan Reports
|
Note :After getting connected with USB WardWiz automatically detects and prompts you with the notification. Once the scanning done, if you want to rescan
the connected USB device then, without detaching to reconnect the device, you can perform the Right Click Custom Scan.
|
Click to set WardWiz Scan Settings
|
|