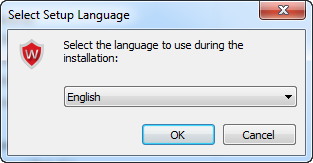
When you enter the WardWiz Setup Wizard then Select Setup Language window displays, through dropdown menu select preferred language and click Ok.
Figure 1: Select Setup Language Window
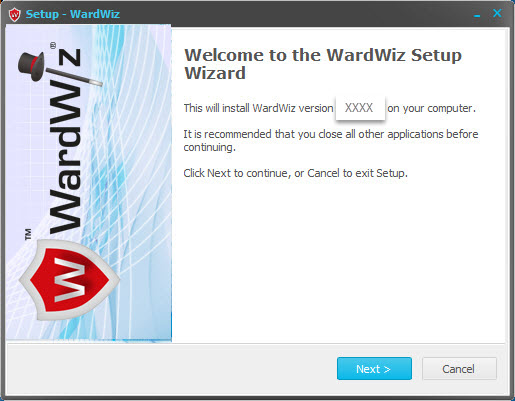
Figure 2 : Welcome to WardWiz Setup Wizard
1. Click Next, the End User License Agreement screen appears.
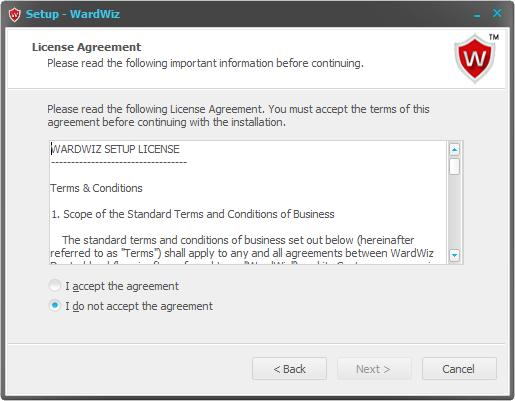
Figure 3 : End User License Agreement Screen
2. Select I accept the agreement Radio button to continue the installation process.
3. Click Next, Select additional tasks screen appears.
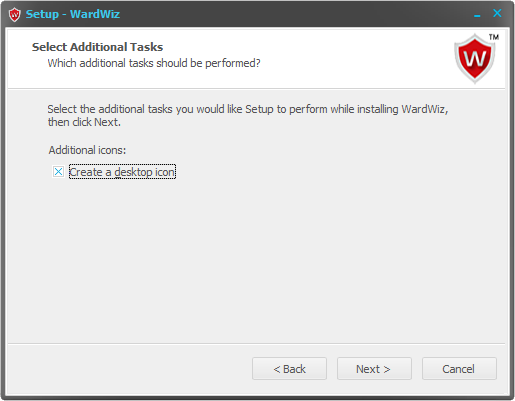
Figure 4 : Select Additional Tasks
4. Mark the Create a desktop Icon Checkbox to create WardWiz icon on your desktop.
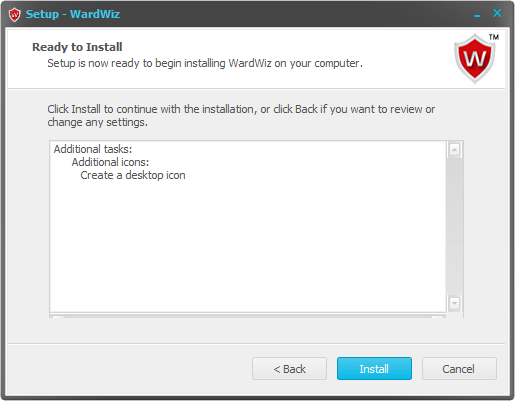
5. Click Next, The Ready to Install screen appears.
Figure 5 : Ready to Install
6. Click Install to begin the installation process.
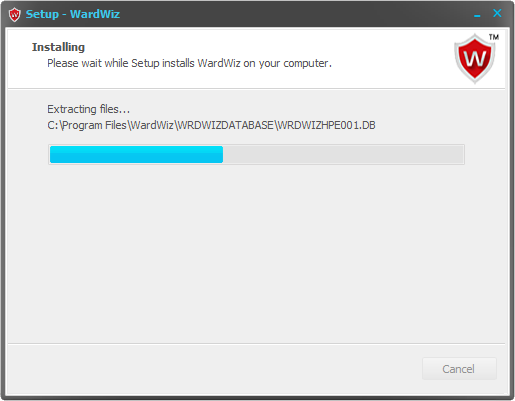
Figure 6 : Installation Process
7. Let the installation process complete, The Wizard notifies you once the it gets finish.
Figure 7 : WardWiz Setup Wizard Complete
8. Mark the Launch WardWiz Checkbox to open WardWiz immediate after installation.
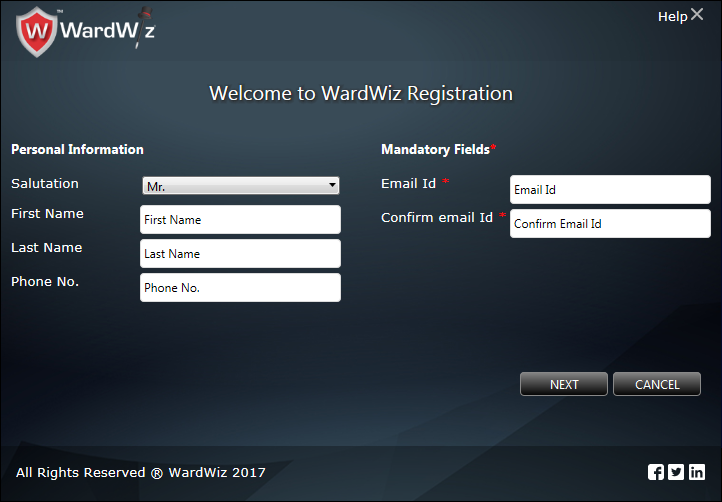
9. Click Finish, the WardWiz is successfully installed on your computer system, the registration page of WardWiz appears.
Figure 8 : WardWiz Registration Window
Click to check the WardWiz Registration Process
Click to check the Computer System Requirements