Custom Scan |
You can scan the files of your choice using Custom Scan. Add one or more files and folders to save the scanning period.
1. To perform the Custom Scan, on Home screen, in ribbon menus, click  Scan >
  Custom Scan.
2. The Custom Scan Window appears.
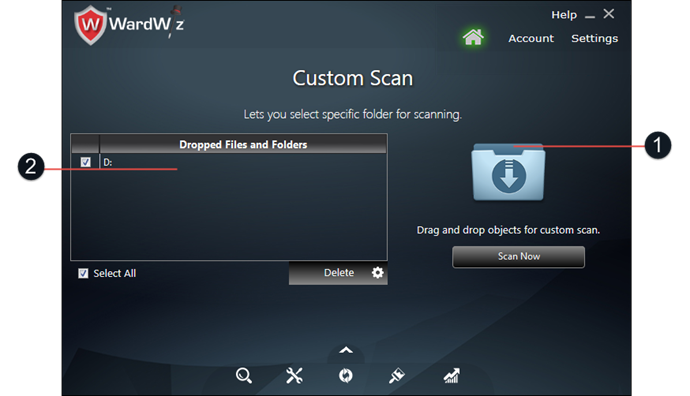
Figure 42 : Custom Scan Window
Table 9 : Custom Scan
|
No
|
Description
|
|
1.
|
The area where you can drag and drop the files or folders for scanning
|
|
2.
|
The area shows the paths of selected files and folder
|
3. To remove the already added file, click Delete.
4. To start the scanning process, click Scan Now , the Processing Window appears.
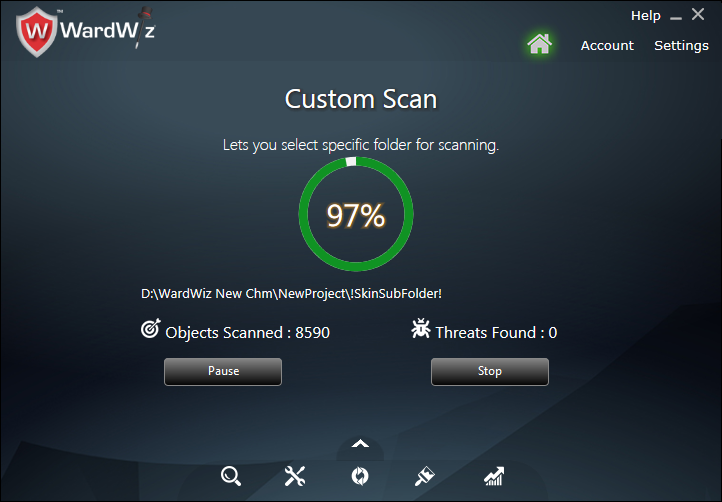
Figure 43 : Processing Window
5. Click Pause to stop the scanning process for some time, Click Resume to continue.
6. Click Stop to end the scanning process.
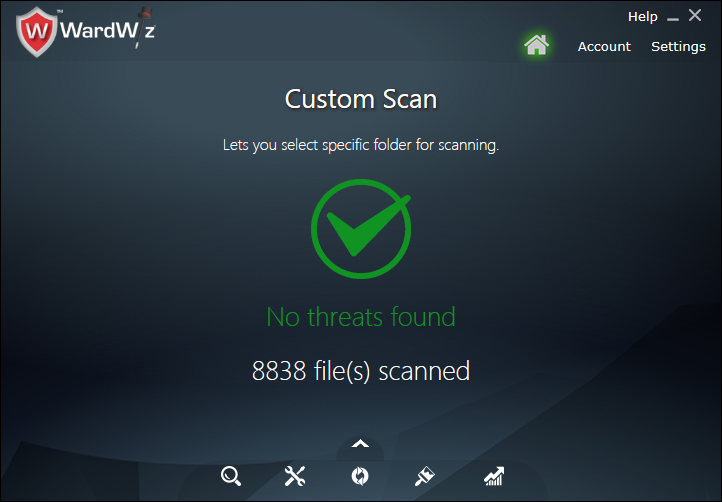
Figure 44 : Process Completion Window
7. The WardWiz detects , quarantine and treat the suspicious or malicious file as per instruction set with in scan setting.
8. WardWiz automatically cleans the detected malicious files as per previously set Scan Settings.
9. If the infected file is important, then you can recover it from the quarantine area using Recover Files tool.